Feeding sugar water to bees is one of those beekeeping topics that sounds simple at first but quickly becomes confusing once you start hearing about different ratios, feeder styles, and the right time to feed. It’s completely normal to worry about doing something wrong or accidentally harming your hive.
Sugar water isn’t meant to replace a bee’s natural diet. It’s like a helpful backup, not a full meal. Its main purpose is to support hive health during times when flowers are scarce, like early spring, late fall or during long stretches of bad weather. If used responsibly, sugar water can help colonies survive tough periods and remain strong until natural nectar sources return.
Knowing when and how to feed bees with sugar syrup ties directly into understanding the life cycle of bees, ensuring each stage of development gets proper nutrition.
Mastering sugar water ratios is an essential skill for beginners looking to start beekeeping successfully, providing their colonies with the support they need throughout the year.
Why You Should Use Sugar Water
Boosting Brood Production in Spring
In early spring, flowers aren’t fully blooming yet, but the colony needs to grow fast. A light sugar syrup acts like a fake nectar flow and signals the queen that it’s time to start laying more eggs. This helps build a strong workforce just in time for the real nectar flow. The goal isn’t to force bees, it’s to give them a gentle push so they’re ready for the busy season ahead.
While providing sugar water can support healthy colonies, it’s equally important to know how to safely remove unwanted ground bees to protect your property without harming beneficial pollinators.
Helping Bees Store Food for Winter (Fall Feeding)
As fall approaches, bees need to stock up for winter. Thick sugar syrup helps them fill and cap their food stores before cold weather hits. Dense, well-stored food is important because bees rely on it for energy to stay warm and alive when they can’t fly out for forage. Without enough stored food, even a healthy colony can struggle to survive winter.
Supporting New Packages or Nucs
Newly installed bees have a lot of work to do: building comb, raising brood, and settling into their new home. Sugar water gives them steady energy during this stressful phase. Consistent feeding during the first few weeks can make a big difference in how quickly and successfully the colony gets established.
Emergency Feeding During Tough Times
Sometimes nature doesn’t come in your bees’ favor. Long periods of rain, drought or sudden nectar shortages can leave bees short on food. Sugar water can be a lifesaver for weak or struggling colonies, but it’s only a short-term fix. If a hive keeps needing emergency feeding, it’s important to look for the real problem, like disease, pests, or a failing queen.
Understanding proper feeding techniques like sugar water ratios complements responsible beekeeping practices, including how to get rid of bees safely and ethically when relocation is necessary.
When to Feed and When to Hold Back
Season matters a lot
Spring: Feed early if natural nectar is limited and the colony needs help growing.
Fall: Feed in late summer or early fall so bees can prepare their winter stores in time.
Summer: Usually best to avoid feeding, especially during strong nectar flows.
Situations where feeding makes sense
Long stretches of rain or drought
Installing a new package or nuc
Helping bees recover after mite or disease treatments
Never feed sugar water during a strong natural nectar flow. Doing so can contaminate honey that’s meant for people to eat, and no beekeeper wants that. Let bees work the real flowers when they’re available.
At every step, the focus should always be on the bees’ well-being. Feeding at the wrong time or for the wrong purposes can do more harm than good. Responsible beekeeping means knowing when to step in and when to step back, so your bees can thrive naturally, no matter the season or climate.
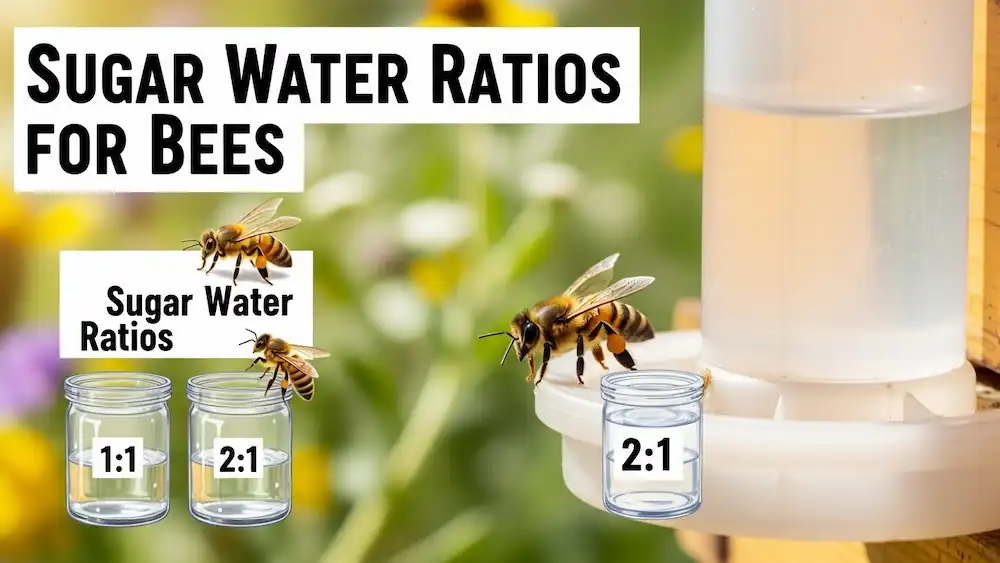
Sugar Water Ratios
Now let’s talk about the part that confuses most beekeepers: the sugar-water ratios. Different sugar-to-water ratios do different jobs inside the hive. The thickness of the syrup affects how bees use it, how fast they consume it, and whether they store it or use it right away. These ratios are based on how natural nectar works and how much energy bees need at different times of the year.
Thin syrup acts like fresh flower nectar and tells bees, “Food is coming in, let’s grow.” Thick syrup acts like stored food, telling bees, “Save this for later.”
Bees handle these syrups differently too. Thin syrup is quickly absorbed and converted to energy, while thicker syrup is more likely to be stored and capped for future use.
1:1 vs. 2:1 Sugar Syrup (The Two You’ll Use Most)
1:1 Sugar Syrup (Light Syrup)
A 1:1 sugar syrup is mainly used in early spring when colonies are coming out of winter and need a boost. It’s ideal for spring buildup, encouraging brood production, and supporting new packages or nucs that are still getting established. During these times, bees need quick energy to grow the colony rather than store food.
How to make it
To prepare this syrup, mix equal parts sugar and water: one cup of sugar to one cup of water, or one kilogram of sugar to one litre of water. You can measure by volume for small batches, but weighing the sugar is more accurate when making larger amounts. Heat the water just enough to dissolve the sugar, then let it cool before feeding.
Why it works
This light syrup closely mimics natural flower nectar, which signals the hive that food is available. Because it’s thin and easy to consume, worker bees take it in quickly, and the queen responds by laying more eggs. This helps the colony grow stronger at the right time of year.
1:1 syrup is easy for bees to drink and digest, making it perfect for stimulating activity inside the hive. It encourages brood rearing and helps colonies expand faster, especially after winter. It’s also one of the best choices for early-season feeding when natural nectar is limited.
Because it contains more water, this syrup can ferment quickly in warm weather, especially if left in the feeder too long. Bees also consume it fast, so feeders usually need to be refilled more often compared to thicker syrups.
2:1 Sugar Syrup (Heavy Syrup)
The 2:1 sugar syrup is used for:
Building winter food stores
Fall feeding
Emergency feeding before cold weather
To make it:
Mix 2 parts of sugar with 1 part of water.
Again, weighing the sugar gives more accurate results for larger amounts.
Why it works
This thick syrup is packed with energy. Bees don’t need to remove as much water from it, so they can store and cap it faster, perfect for winter prep.
This syrup is high in energy, so bees get more calories from a smaller volume of liquid. It stores well in the hive and is much less likely to ferment than thinner syrups. Because it already contains less water, bees don’t have to spend as much time evaporating and thickening it themselves, which saves them valuable energy, especially important when preparing for winter.
The thicker consistency makes it heavier and more difficult for bees to move around the hive. If temperatures are already cold and the bees have formed a tight cluster, they may struggle to access and consume this syrup, making it less effective in chilly conditions.
Going Beyond the Basics
Some beekeepers also use other ratios, like 3:2, depending on local climate, seasonal timing, or personal preference. These are less common but can be useful in specific regions or feeding goals.
To make things even easier, an interactive sugar water ratio calculator can be a huge help. Just enter how much syrup you need and what you’re feeding for (spring growth, winter stores, etc.), and it tells you exactly how much sugar and water to use. No math headaches involved.
Many experienced and certified beekeepers agree on one key point. There’s no “one-size-fits-all” ratio. The best mix depends on the season, the hive’s condition, and what your bees actually need at that moment.
Once you understand the purpose behind each ratio, feeding sugar water becomes less stressful and much more effective for both you and your bees.
Making the Perfect Sugar Syrup
Essential Equipment
You don’t need much to make sugar water for bees. Measuring cups or a kitchen scale help keep ratios accurate, especially for larger batches. A clean and food-grade container, a sturdy spoon or whisk and a heat source for warm mixing are all you need.
Water Quality Matters
Always use non-chlorinated water. Chlorine can interfere with bees’ digestion and overall health. Well water, filtered tap water, or rainwater are good choices. If using tap water, letting it sit uncovered for 24 hours can help reduce chlorine.
Mixing the Syrup
Make sure the sugar is fully dissolved. You can mix with cold water by stirring well, or use warm water to dissolve sugar faster, but don’t boil it. Slightly warm syrup, around 80–90°F / 27–32°C, is easier for bees to take especially in cool weather.
Optional Additives
Some beekeepers add a few drops of essential oils, such as lemongrass or spearmint, to attract bees or support hive health. Use these sparingly. Commercial supplements can help in certain situations, but aren’t always necessary.
Store supplementary syrup in an airtight container in a cool, dark place. Light syrups spoil faster and should be used within a few days. Thicker syrups last longer but should always be checked before feeding.
Choosing the Right Sugar
Use plain white granulated sugar as it is of good quality. Both cane and beet sugar are safe once refined and are widely recommended by experienced beekeepers.
Never use brown sugar, molasses, unrefined sugars, artificial sweeteners, powdered sugar, or raw honey. These can cause digestive problems or spread disease in the hive.
Keeping it simple, white sugar and clean water go a long way in keeping your bees healthy.
Choosing the Right Feeder for Your Bees
After making sugar syrup, the next step is deciding how to give it to your bees. Different feeder types work better in different situations, and choosing the right one can help prevent common problems such as robbing, drowning, and pest infestations.
1. Entrance Feeders
Entrance feeders are simple jars filled with syrup that sit at the hive entrance. They’re easy to monitor and quick to refill without opening the hive, which many beginners appreciate. However, because they’re outside, they can attract robbing bees, ants and wasps. They also hold limited syrup and are exposed to weather, so they work best for small colonies, short-term feeding, and calm weather conditions.
2. Top Feeders
Top feeders sit inside the hive, directly under the outer cover, and can hold a large amount of syrup. Since the syrup stays inside the hive, the risk of robbing is much lower. These feeders are great when colonies need heavy or long-term feeding. The trade-off is that you need to open the hive to refill them, and poorly designed top feeders can cause bees to drown if safety features aren’t in place.
3. Frame Feeders
Frame feeders replace a regular frame inside the brood box and are filled with syrup. Because they’re fully inside the hive, they’re well protected from the weather and robbing, and they keep the syrup warm. On the downside, they take up space that bees could use for comb and require opening the hive to check or refill. They’re commonly used for nucs, small colonies, or during periods when robbing is a concern.
4. In-Hive Feeders
In-hive feeders come in several designs and are placed entirely inside the hive. They offer good protection against pests and the weather, and are easy for bees to access. Like frame feeders, they take up some space and require opening the hive, but they’re a solid all-purpose option, especially when robbing pressure is high.
5. External Feeders
External feeders are placed outside the hive and can be accessed by multiple colonies. While they allow you to feed many hives at once without opening them, they come with serious risks. These feeders often trigger robbing, spread disease between colonies and attract pests. Because of this, they’re generally discouraged except in very specific situations.
Installing and Maintaining Feeders
No matter which feeder you choose, a proper setup is all that matters. Make sure entrance feeders fit tightly and don’t leak. Top and frame feeders should be level and secure. To prevent drowning, use feeders with floats, ladders, or textured surfaces so bees can climb out easily.
Clean feeders regularly to prevent mold, bacteria, and fermented syrup, all of which can make bees sick. Warm water with mild soap works well; just rinse thoroughly before refilling.
Preventing Robbing and Pests
Robbing usually looks chaotic, with fast, aggressive flying and fighting at the hive entrance. To reduce the risk, feed bees inside the hive whenever possible, keep entrances small for weaker colonies, and feed during evening hours when fewer bees are active.
Ants and other pests can be managed by raising hives off the ground, using ant moats, and checking feeders often. A little prevention goes a long way in keeping feeding safe and stress-free for your bees.
Avoiding Mistakes and Fixing Common Problems
Feeding sugar water can help your bees, but doing it wrong can cause problems. Avoid the following mistakes while offering sugar water for bees.
Fermented syrup: Sour, foamy, or cloudy syrup can make bees sick; always use fresh syrup.
Incorrect ratios: Too thin syrup won’t help bees store food; too thick is hard for them to consume.
Attracting pests and robbing: Poor feeder placement or dirty feeders can draw ants, wasps, and robbing bees.
Overfeeding: Relying too much on sugar water can reduce natural foraging and affect honey quality.
Chlorinated water: It can harm bee digestion, so always use non-chlorinated water.
Feeding during nectar flow: Never feed during nectar flow. It can contaminate honey intended for harvest.
Proper feeding with sugar water can influence colony health and longevity, helping you understand the average lifespan of bees across different species and roles.
How to Save a Tired Bee with Sugar Water?
Individual bees can become exhausted or dehydrated while foraging. Signs of a tired bee include sluggish movement, inability to fly, or staying in one spot for a long time. In these cases, a quick energy boost can save the bee.
A safe way to help is to place a few drops of 1:1 sugar water or plain sugar water if necessary on a leaf or flower near the bee. The bee can sip the sugar and regain strength to fly back to the hive. Remember, this is only for individual bees and not a solution for colony-level problems.
Natural Forage and Pollen
While sugar water is useful, remember it’s merely a supplement. Natural nectar and pollen remain essential because they provide the full range of nutrients bees need, including proteins, vitamins, and micronutrients. Planting pollinator-friendly flowers and maintaining healthy forage areas helps bees thrive sustainably.
In addition to sugar water, pollen patties can serve as a supplemental protein source when natural pollen is scarce. These supplements support brood rearing and overall colony health, but they should never replace natural forage entirely.
Medicated Syrup: When and How
In some cases, you can use medicated syrup to help treat specific diseases, such as Nosema. This type of syrup should only be used under the guidance of an experienced beekeeper or veterinarian because improper use can harm the bees and violate regulations.
For precise preparation, advanced beekeepers often use tools like a refractometer to measure sugar concentration. This ensures the syrup is safe and effective. Medicated syrup is a specialized tool, not a routine feeding option, and should always be handled carefully.
David Carter, founder of Farmstead Guide, has over 20 years of hands-on homesteading experience. From raising poultry to practicing sustainable farming, he shares practical tips and insights to help others live a more self-sufficient lifestyle.